
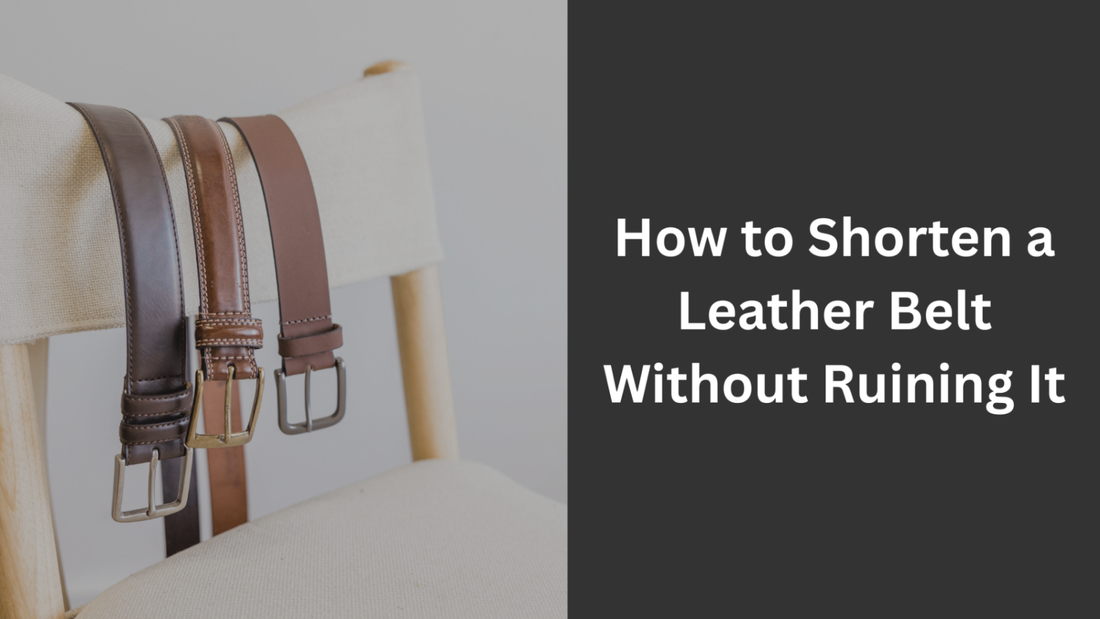
How to Shorten a Leather Belt Without Ruining It
A good leather belt should fit just right—not too tight, not too loose. But what if your perfect belt is a little too long? Don’t toss it. Whether you’ve lost a few inches around the waist, inherited a belt, or simply bought the wrong size, learning how to shorten a leather belt is a smart (and surprisingly simple) fix.
In this guide, we’ll walk you through step-by-step instructions on shortening your belt the right way—especially if it’s made of full-grain leather, which deserves the best care.

Why It’s Worth Shortening a Full-Grain Leather Belt
Let’s start with why you shouldn’t just punch more holes or leave it hanging awkwardly.
Full-grain leather is the highest quality leather—thick, durable, and designed to age beautifully over time. A poorly adjusted or hacked-up belt can damage that beauty. By shortening it properly, you maintain its structure, keep it looking sleek, and extend its lifespan.
So yes—if you’ve invested in full-grain leather, taking a few extra steps to adjust the fit the right way is totally worth it.

Tools You’ll Need to Shorten a Leather Belt
Before you start, gather these simple tools:
-
A screwdriver or punch tool (depending on the belt type)
-
A sharp utility knife or leather cutter
-
A ruler or measuring tape
-
A pencil or chalk for marking
-
A hole puncher for leather (rotary punch recommended)
-
A cutting mat or firm surface
Optional but helpful:
-
A burnishing tool or sandpaper to smooth edges
-
Leather conditioner to finish the job cleanly
Step-by-Step: How to Shorten a Leather Belt Like a Pro
Step 1: Try It On and Find the Perfect Fit
Start by putting on the belt and noting where it fits best. Ideally, you want the buckle to fasten comfortably through the middle hole, leaving a few inches of tail after it’s buckled.
Pro tip: The right length usually places the end of the belt between the first and second belt loop after the buckle.
Step 2: Mark Where to Cut
Turn the belt over and measure how much length needs to go. It’s best to remove leather from the buckle end instead of trimming the tip. This keeps the original design and shape of the belt’s tail intact.
Use your ruler to measure from the buckle bar to the hole that fits you best, then subtract this from the total length of the belt. That’s how much to cut off.
Mark your cut line with a pencil or chalk on the buckle end of the belt.
Step 3: Remove the Buckle
There are two types of buckles you’ll likely find:
-
Screw-in buckle: Remove the screw(s) using a small screwdriver.
-
Snap-on buckle: Open the snaps to release the buckle.
Once detached, set the buckle aside safely.
Step 4: Cut the Belt
Lay the belt flat on a cutting mat or firm surface. Using a sharp utility knife or leather cutter, carefully slice across your marked line in one smooth motion. Avoid using scissors—they’ll crush the leather fibers unevenly.
Tip: A clean, straight cut makes reassembly easier and keeps the leather from fraying.
Step 5: Punch a New Hole for the Buckle
After cutting, you’ll need to punch a new hole (or two) where the buckle reattaches. Use the old piece as a template or line up the buckle for accuracy. Most belts require one centered hole for a screw or two holes for snaps.
Use a rotary leather hole puncher for best results.
Optional: Smooth and Finish the Edges
To give your belt a polished look:
-
Lightly sand the cut edge with fine-grit sandpaper.
-
Apply leather edge paint or burnish the edge with a burnishing tool.
-
Rub in a small amount of leather conditioner to hydrate the edge and prevent cracking.
This extra effort makes your modification almost invisible—like it was never altered.
Reattach the Buckle
Once everything’s ready:
-
Insert the buckle and align the new hole(s).
-
Secure it using the original screws or snaps.
-
Give it a gentle tug to make sure it’s firmly attached.
Now try the belt on again. It should fit like a glove—with no extra flaps, awkward buckling, or hanging ends.
Can All Leather Belts Be Shortened?
In most cases, yes—but here’s what to watch out for:
-
Double-stitched belts might require re-stitching for a clean finish.
-
Designer belts may lose value if modified, so always check resale considerations.
-
Tooled or decorative belts with patterns may need more precision.
And again, full-grain leather belts are perfect for altering, as long as you use proper tools and handle them with care.
What If You Can’t Remove the Buckle?
Some belts don’t have screws or snaps, and removing the buckle could damage the leather. In this case, you’ll need to trim from the tail end—but do it with caution.
-
Use a ruler to measure and mark a new taper to match the original tip.
-
Cut and reshape the end, then punch new holes at the correct spacing.
-
Finish the edges as described above for a seamless look.
Not ideal—but it’s doable if done precisely.
Final Tips to Keep in Mind
-
Measure twice, cut once. There’s no going back after trimming full-grain leather.
-
Test-fit before punching. Always double-check the new length with the buckle in place.
-
Condition the belt afterwards. It helps prevent cracking and keeps the leather soft and strong.
-
Use proper tools. They make a big difference in how clean the final result looks.
Wrap-Up: Shorten, Style, and Wear With Confidence
Now that you know how to shorten a leather belt the right way, your wardrobe just got an upgrade. There’s no need to settle for an ill-fitting belt—or let a quality full-grain leather piece go to waste. With a few tools and some simple steps, you can reshape it to suit your style and size.
And the best part? You’ll walk out the door looking polished, confident, and comfortable—like the belt was custom-made for you.
Looking for full-grain leather belts that are made to last?
Choose one that fits your style from Clozere’s handcrafted leather collection. Every piece is built to last, age beautifully, and adjust perfectly when you need it to.
1. How to shorten a belt without cutting?
If your belt has a removable buckle (secured with screws or snaps), you can simply detach the buckle, trim the extra leather from the buckle end, punch a new hole, and reattach the buckle. This way, the cut is hidden and doesn’t affect the visible end of the belt.
For belts that don’t allow cutting, try using a belt loop or clip to secure the excess length neatly behind your belt loops. It's not a permanent fix, but it keeps things tidy without needing tools.
2. How to shorten a leather belt at home?
You can shorten a leather belt at home with a few basic tools:
-
A screwdriver (to remove the buckle)
-
A ruler or measuring tape
-
A utility knife or sharp cutter
-
A leather hole punch
Measure how much you want to remove, cut the buckle end of the belt, punch a new hole for the buckle, and reattach it. It takes just 15–20 minutes and saves you a trip to the tailor.
3. How to shorten a leather belt by hand?
To shorten a leather belt by hand, follow these steps:
-
Wear the belt and mark the perfect fit.
-
Remove the buckle (if it’s attached with screws or snaps).
-
Use a sharp knife or cutter to trim the belt from the buckle end.
-
Punch a new hole using a manual leather hole punch.
-
Reattach the buckle.
If you don’t have a punch tool, you can use a nail and hammer (carefully!) to create a new hole.
4. How to shorten a belt from the buckle?
Shortening a belt from the buckle side is the cleanest method. Here’s how:
-
Unscrew or unsnap the buckle.
-
Measure how much length to remove.
-
Cut that amount off the buckle end of the belt.
-
Punch a new hole to reattach the buckle.
-
Screw or snap the buckle back in place.
This way, the end of your belt looks untouched, and no one can tell it’s been shortened.
5. Can you cut a leather belt with scissors?
Technically, yes—but it’s not recommended. Scissors can crush or tear the leather, especially if it’s full-grain or thick. The result might look rough or uneven.
Instead, use a sharp utility knife or rotary cutter on a firm surface for a clean, straight cut. If scissors are your only option, make sure they’re heavy-duty and razor-sharp, and finish the edges with sandpaper.
6. How to shorten a stitched belt?
Shortening a stitched belt takes a little more care:
-
Remove the buckle (if possible).
-
Open the stitching on the buckle end with a seam ripper or blade.
-
Cut the leather to the right length.
-
Re-stitch the edge neatly by hand or using a leather sewing awl.
-
Reattach the buckle.
If you’re not confident stitching by hand, consider taking it to a leather repair shop to keep the finish looking professional.
7. How much does it cost to shorten a belt?
It depends on where you go and the type of belt. On average:
-
A basic shortening service: $5–$15
-
Designer or stitched belts: $15–$30
-
DIY at home: Free (if you already have the tools)
For high-end or sentimental belts, it’s worth spending a little more to have it done professionally.


